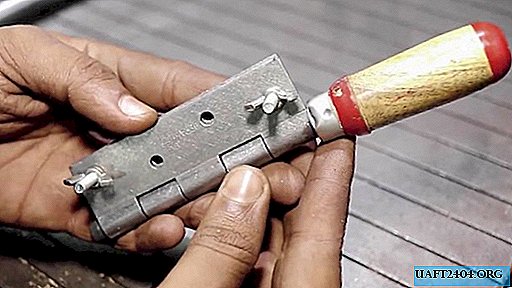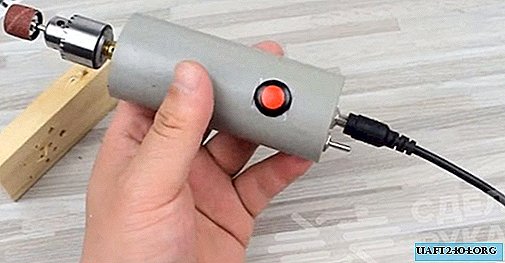
Sometimes wonderful ideas come to mind for different homemade products that cannot be implemented without specific tools. And one of which tools is a mini engraver drill.

Using this device, using the appropriate interchangeable nozzles, it is possible to cut tubes and thin sheet metal, to mill various surfaces, to drill and bore holes of different diameters, and to perform other operations.
Main materials
You can make a mini engraver drill with your own hands from improvised materials. The tool itself is compact in size, highly functional and practical in use.
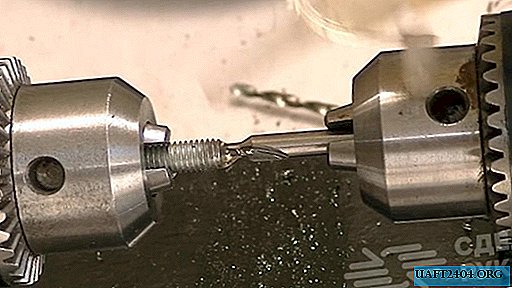
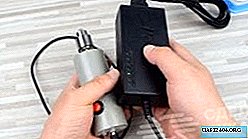
For this homemade product you will need to use a small piece of plastic pipe with an inner diameter of 36 mm, acrylic plates, an electric motor of type 555 (12 to 36V DC), a drill chuck, a 5.5 DC connector, a switch (toggle switch) and an on / off button.
The process of making an engraving drill
We cut a length of 10 cm from a plastic pipe. From the acrylic plate we cut out two round plugs with a diameter of 36 mm, in which it is necessary to make holes for the toggle switch and the power connector. In a plastic pipe, you need to drill a hole for the on / off button.

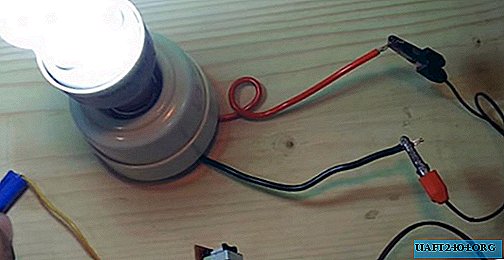
Then we insert the electric motor inside the plastic pipe (the body of the product), connect its contacts with the wires and a soldering iron to the contacts of the button, power connector and toggle switch, then close the end holes with acrylic plugs, for reliability, "put" the parts on the glue.
Now the tool is fully operational. For a more detailed process of making a homemade mini engraver drill, as well as the practical application of this device, see the video on our website.