Share
Pin
Tweet
Send
Share
Send
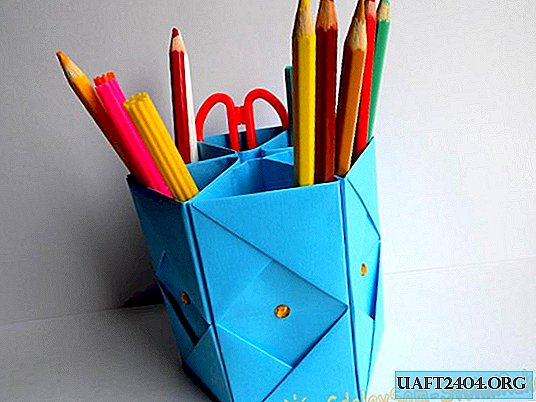
For work you need to take:
- a square sheet of paper (we have 21x21 cm);
- rhinestones for decoration (or other decorative elements);
- glue.

We begin to fold the sheet in half.

So we marked the middle line.

Now we bend the sides to it.

At the spread, we see that the sheet is divided by folds into 4 equal parts.

Repeat the same folds in the other direction. As a result, our sheet is divided into 16 identical squares.

We bend the squares located at the corners, giving them the appearance of triangles.

Bend the bottom edge of the workpiece up.

The upper edge must be folded down.

The sides should be bent towards the center.

It remains to enter the left edge of the workpiece into the right.

So we got one of the six modules of our future stand.

It is required to make 5 more such blanks.

Each such blank will be a separate element in our stand. We begin to glue them. To do this, apply glue to the side of one of the modules.

We connect it to another module.

This is how our craft looks at this stage, if you look at it from above.

We connect all 6 modules.

It remains to decorate our product as you wish. We do this with colored rhinestones. Our pencil stand is ready.


Share
Pin
Tweet
Send
Share
Send

