Share
Pin
Tweet
Send
Share
Send
So, I suggest you make an original needle bed, materials for which you can easily find at home. The work is expected to be exciting, but not at all complicated. You can make a needle box with the children.
Materials
Check out the list of tools and materials we need.
1. Postcard (for sure you have accumulated a lot of beautiful postcards, choose one of medium size).
2. A new unused kitchen sponge (found in the kitchen of every housewife).
3. A ruler, a pencil, scissors and glue (there is in any student’s pencil case).
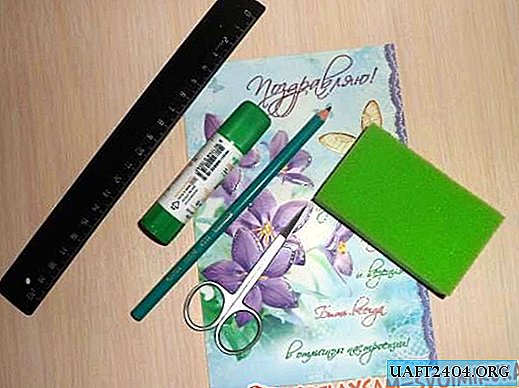
Have you prepared all the necessary materials? Then to the point!
Working process.
1. Measure the sponge and record its dimensions (length, width and height).
In this workshop, a sponge in the following sizes:
length - 8cm
width - 4.5cm
height - 2cm
2. Take a postcard and draw a diagram of the box on the inside using the dimensions of the sponge. In the center, draw a rectangle with sides equal to the length and width of the sponge (so that the sponge fits tightly in the box, you can draw a rectangle with sides 2-3 mm smaller). The height of the sides can be made equal to the height of the sponge or slightly higher, as you like. Above and on the sides, do not forget to draw allowances for gluing and assembling the box. Carefully cut the resulting shape with scissors.

3. Bend the edges on top of the line and glue them.

4. We collect the box, bending it along the lines inward. We glue. Wait a while for the glue to dry.

5. Put the sponge inside the box. Even if you turn it over, the sponge will not fall out.

6. Insert needles and pins into the sponge. That's all, the needle bar is ready! Now it can be used for its intended purpose.

So quickly and simply you can make a beautiful, and most importantly convenient, needle bed, for which there is a place in the room of any needlewoman.
Share
Pin
Tweet
Send
Share
Send

