If you need a good soldering iron for homework, it is not necessary to spend a lot of money on factory equipment. Having a toroidal transformer available, which has a closed donut-shaped core, as well as other improvised materials, you can make a powerful soldering iron with your own hands.
Manufacturing process
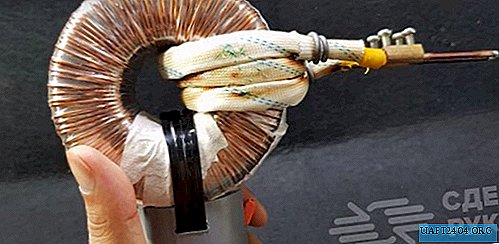
First of all, it is necessary to cut a piece of stranded copper wire with a cross section of 4.6 mm and a length of about 60 cm, put on additional insulation on it, then wrap the wire around the toroidal transformer, make two full turns and bring the bare ends out.
Then the ends of the wire must be fixed with steel wire so that they are arranged vertically and parallel to each other. After that, the bare edges need to be slightly trimmed, put on the terminals and fix with screws. On the other side of the terminals you need to insert a copper wire of a suitable diameter - this will be a soldering iron tip.
Fixture assembly
At the next stage of work, it is necessary to connect the wires that go from the transformer to the power cord. That's all - a powerful homemade soldering iron is ready for use. However, for greater convenience, you will still need to make a handle from a piece of plastic water pipe and a transition of a suitable diameter.

You will also need to additionally set the on / off button of the soldering iron. We connect all the wires by twisting and put on a heat shrink tube at the junction. The bottom of the pipe must be “plugged” with a plastic plug. For a detailed process of making a soldering iron from a toroidal transformer, see the video on our website.


