Conventional mains electric drills are good for large volumes of work, when you need to drill holes in a wall or metal workpieces, grind the ends of plywood sheets, etc. But small homework does not differ much in scale, therefore, the tool for them can be used more compact.

In this article, we will look at how to make a small hand-held mini-drill, which runs on battery power, with your own hands. We will use a DC 775 12 V electric motor as a drive. Some other materials will be required, but first things first.
Materials and milestones
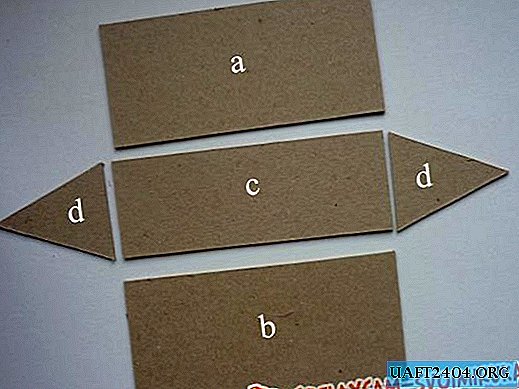
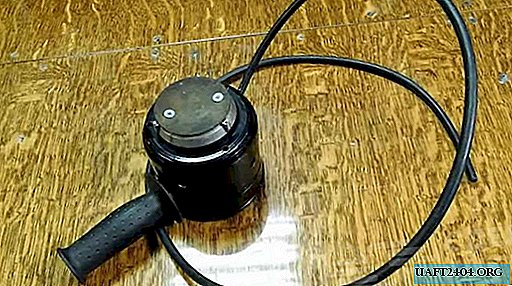
We solder the wires to the motor contacts and isolate the connection points with an electrical tape or a heat shrink tube. Next, we place the engine in a plastic water tap (corner) 90 degrees and fix it with three screws. Then we insert a pipe section into the free end of the outlet - this is the lower part of the body, to the base of which the battery will be attached.

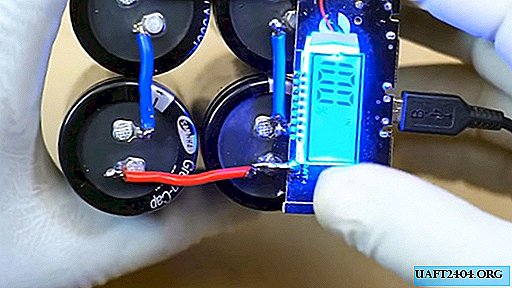
Also in the tube you need to make a rectangular hole for the power on / switch button from the power drill. We connect the wires of the electric motor with the contacts of the button, isolate the soldering point with heat shrink. Next, we connect the necessary number of rechargeable lithium-ion batteries in series and make a separate plywood case for them.

We fix the plastic sleeve to the upper part of the box and insert the drill body, on the side of which we fasten the handle from the tube of a smaller diameter to make it easier to hold the tool during operation. The surface of the body and plywood must be painted with spray paint for a more aesthetic look.