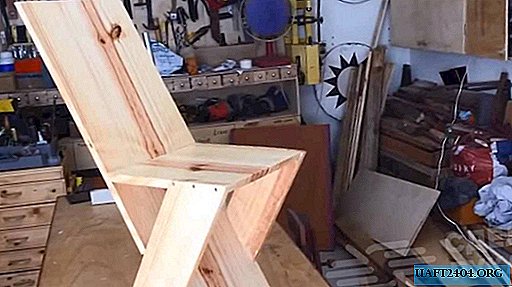
Very often, when working with a milling cutter, you need to make a part or blank of a round shape. Under normal conditions, this is not so simple. The homemade product, which will be discussed in this review, will simplify this operation, simplifying it as much as possible.

For this homemade product you will need several strips of metal, knurled screws, drilling and grinding tools. Well, of course, it will take a little time.
First, cut a small strip of metal and select a small amount of metal in the center using angle grinder. We bend the workpiece in a vice until a corner of 90 degrees is obtained.

Almost near the bend, we drill a hole and cut it to the edge of one of the sides, thus obtaining an adjustment groove.
The main stages of work
We drill a couple of holes on the opposite edge of the corner and cut the threads for the screws. Next, we take a strip of metal of the desired size and mark future holes along the edges with a core.

We drill and gently with the help of angle grinders cut out the central part in width equal to the diameters of the holes. This is the guide for the centering bolt. We also drill two holes on one edge of the plate and grind the edges, giving them a rounded shape.

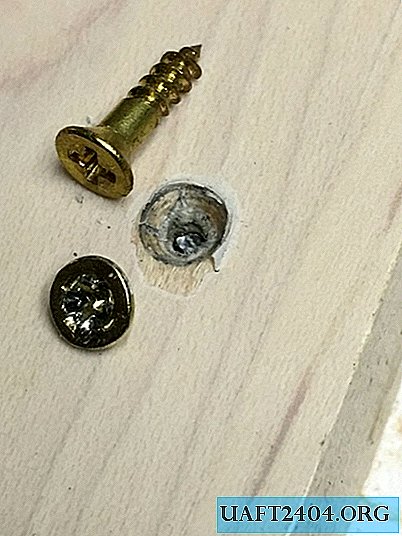
The next step is to make the center bolt. Having fixed the bolt in the drill, remove his hat and slightly reduce the diameter on the grinding machine. We also process a round piece of metal (with a height equal to the height of the milling sole) on a grinding machine and cut a thread into it for the diameter of the bolt.

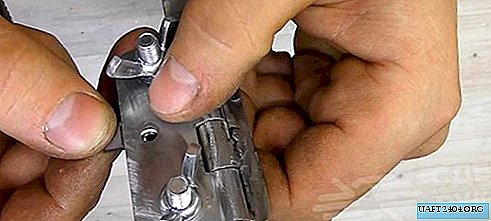
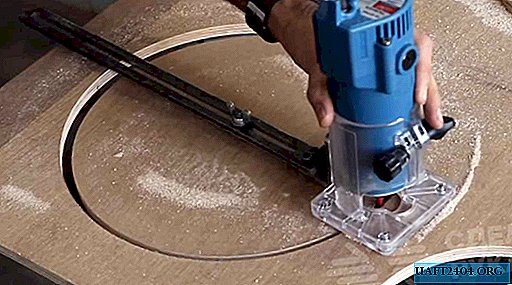
Having twisted a bolt in an impromptu washer, we fill in superglue on a carving. Getting to the assembly. We install the square in the clamp for the ruler, fasten the guide to the square with two bolts and install the centering bolt.

Details of the assembly and work with this homemade product you can see in the video below.