Share
Pin
Tweet
Send
Share
Send
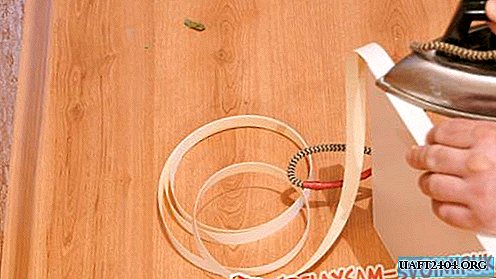
Aligning one edge of the edge to the corner of the part, with a hot iron, smooth the edge along the entire end. When heated, the glue melts and sticks to the edge. The protruding edge of the edge is carefully cut with a sharp knife.

A hot iron leaves dark spots on the edge that can be easily removed with a damp cloth, with any cleaning agent.
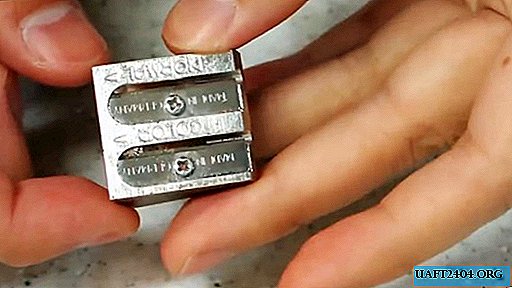
Then, the prepared parts are made together (according to the project) and on the outside, they mark the center of the conformal opening. A hole is drilled with a special drill, and in the lower part, the hole must be deepened, otherwise the conform will tear the wood chipboard. Based on the fact that the thickness of the chipboard is 18 mm, it is necessary to mark the center of the future hole 9 mm from the edge of the upper part.

Having thus assembled the cabinet box

on the side walls it is worth marking the holes for fastening the shelves. In a particular case, two shelves are “tied” to the dimensions of the facades (doors). Having fixed the shelves, you can proceed to the preparation of the facades.

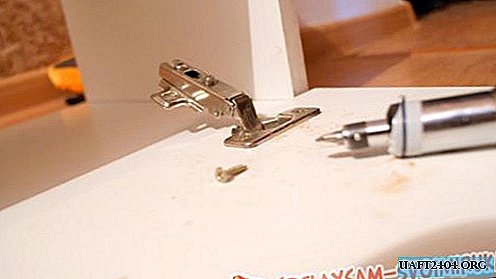
A hole for a furniture hinge is drilled in the door. The specifics of the work is that the hole is not through - just to “sit” the loop. The landing loop size is 35 mm. For this purpose, pen drills with a central tooth of up to 5 mm in length are used. Forstner's drill also does a good job of this.

The inserted loops must be secured with screws

and having set the door to the side wall of the cabinet, mark the holes for attaching the curtain.
Having screwed in screws for 9/10 lengths, it is necessary to adjust the facade and squeeze the fasteners.
Decorative legs with an adjusting nut are screwed to the bottom of the cabinet.

The assembled cabinet must be fixed already at the place of permanent deployment. For this purpose, ordinary straight eyes were used.


Share
Pin
Tweet
Send
Share
Send