Share
Pin
Tweet
Send
Share
Send
Materials:
- 220V brushless generator (yes, it’s 220V, it’s not a typo);
- Rectifier diode bridge three-phase;
- Step-down voltage converter with USB output.
- PVC pipe 32 mm;
- PVC pipe 50 mm;
- adapter from 32 to 50 mm;
- 2 worm clamps;
- a piece of PVC sheet or plexiglass;
- M10 bolt 80 mm;
- 2 nuts M10;
- bearing with an outer diameter of 32 mm;
- blades from a household fan;
- cement-sand mixture.
Making a windmill
First of all, I’ll explain about the heart of our windmill, which is a 220V motor-mini generator purchased at Ali Express.

This is a three-phase brushless electric motor (rated at 50 W), which at rated speeds (10,000 rpm) is capable of generating about 220 volts of three-phase voltage. But since it is impossible to create such revolutions with the help of wind, only weak rotation is available to us, then such a turbine will give us about 12-20 V. This will be enough for our purposes.
We take a PVC pipe.

A motor is glued to the edge of the sewer PVC pipe with a 32 mm hot-melt adhesive. For reliability, it needs to be fixed with a pair of worm clamps.

Having departed 50 mm from the engine, a through hole is made in the pipe with a d10 mm drill, as in the photo. The tube itself needs to be cut off. It is enough to leave 35-40 cm.

On the edge of the pipe opposite the motor, a longitudinal cut is made of 25-30 mm in length. It must be in line with the direction of the hole previously made.

The tail of a windmill is cut from a piece of plastic or plexiglass. Using a thermal gun, it is glued into the slot on the tube.

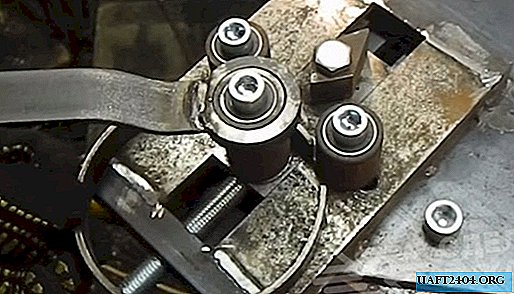
An M10 bolt is inserted into the tube hole with the motor and tail. A nut is screwed onto it.

Next, a bearing is mounted, which is tightened by a second nut.


PVC adapter from 32 mm to 50 mm fits onto the bearing. If that one is slightly smaller, then you can use a spacer from a piece of the tube.


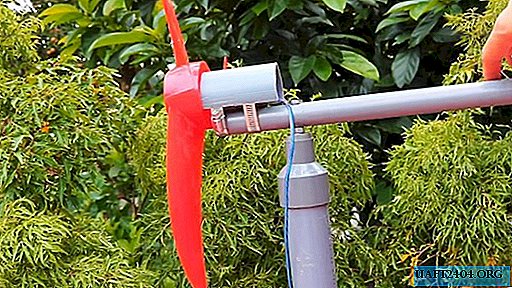
A 50 mm PVC pipe is connected to the adapter.

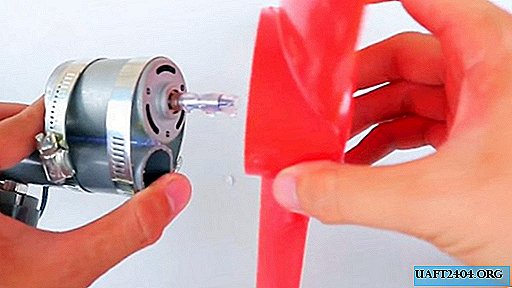
The blades must be put on the motor shaft. They can be removed from a blown fan.

If the landing diameter on the blades is slightly larger, then fit a suitable tube on the shaft and use hot melt adhesive in addition.
To protect the motor from rain, a lid is glued on it. To do this, you can use a piece of 50 mm cut along the sewer pipe.

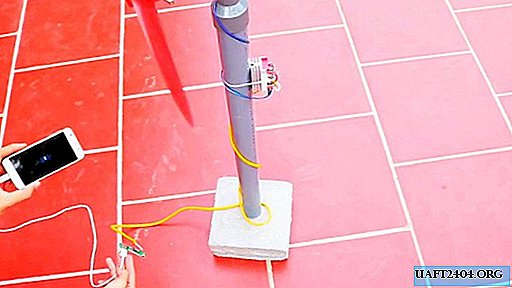
To fix the wind generator, you need to make a heavy stand. The easiest way is to mix concrete and pour it into a square shape made of bricks.

A 50 mm PVC pipe vertically inserted from the adapter on the fan casing is vertically inserted into the resulting concrete pad. On the second day, the concrete is already strong enough to hold the generator.


When exposed to wind, the generator generates energy with a jumping voltage, this is normal. When you connect the LED bulb, you can see that it is flickering. Solder the wires from the motor first to a three-phase rectifier.

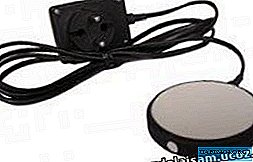
And then to the step-down voltage converter.


After it, a stable voltage is supplied without critical surges, suitable for charging a smartphone with a voltage of 5V.
This is an inexpensive quite easy to manufacture wind generator. It can be put on the balcony if you do not live on the first floor. And the wind should be enough to charge the cell phone battery.

Share
Pin
Tweet
Send
Share
Send