Share
Pin
Tweet
Send
Share
Send
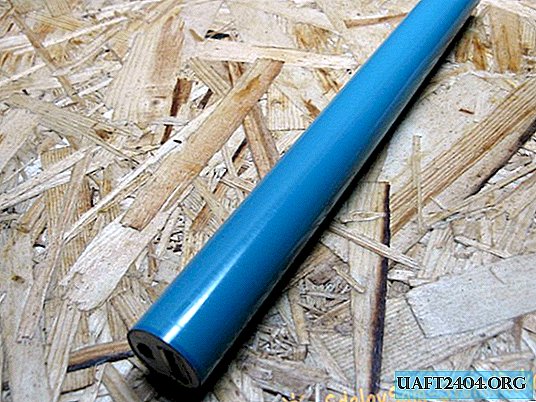
Thinking about the next home-made, I realized that there is no strong Powerbank. Immediately formed the idea of a design in a pipe. But I did not want to take a PVC pipe. Soldering it is not a problem, but somehow artisanal. As always, an old cartridge from a laser printer got caught. The cartridge has a photo drum. It is painted, has a sturdy construction, is lightweight. The drum inside is hollow. A pair of 18650 format batteries will fit perfectly in its body. It is decided that we are making a photo drum in the body.
Making Powerbank from a Printer Cartridge
We take a cartridge. If it has a lot of toner, then clean it. I had it old and there was a little toner. But that did not stop me from getting dirty.

In general, we extract the photo drum and cartridge. It's simple, you need to unscrew a couple of screws on both sides of the cartridge. He left only the drum and screws, threw the rest. Already a lot of toner flies in all directions.

The photo drum is cleaned of toner, the case is not scratched, excellent.

Using a hot air gun, I remove the guides. They are made of plastic, well out of the case.

For the Powerbank design I will use two batteries with residual capacity as in the photo. For my ASUS android background, enough for one and a half times.

He used a module from China as a boost converter. It is compact and has proven its worth.

I will charge the batteries with a charge controller with protection. It is possible without it, but it is necessary. You can use a handkerchief from the battery of a mobile phone.

I will turn on the boost converter with a micro toggle switch. Great size, fits with a bang.

Assembly
We solder the batteries with minuses to each other. Solder the wire to the junction. So do the plus. Since the batteries are used, when disassembling, I recommend not tearing off the nickel-plated tape, but cutting it off. It’s easier then to solder the wires to it. My minus came off, I had to carefully solder it. The wires are displayed in one direction, there will be a charge controller.

Caps for the case, they are also holders of boards cut out of plastic. PVC plastic, really enjoyed working with it. Soft, processed with a construction knife.

I mark the holes for all the connectors and the switch. I cut with a knife. I make small recesses under the boards.

I fasten the boards with glue. Hold perfectly, do not squeeze pressure from the outside.

Solder the wires to the controller. From the controller to the other side of the tube to the boost converter board.

To fix the batteries in the case I will use sections of wine cork. On a cork, you need to cut a piece, for free passage of wires. We insert the batteries, the plug and install the plug with the charge controller. Everything is holding well.

On the plug from the side of the boost converter, unsolder the switch. We tear the plus or minus power wire. The one that comes with the battery charge controller.

The wires are soldered. We carefully insert everything into the case and do not forget about the wine cork. You can also glue it with super glue.
This is the side on the side of the converter.

So it looks from the side of the charging connector.

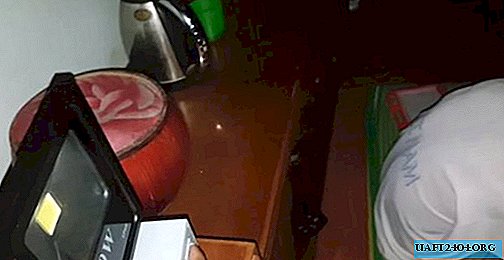
So the indication LEDs are illuminated during operation. You can drill a hole and pour glue on the thermo, but I did not become wise and left it as it is.

This is such a strong and quite convenient Powerbank. In general, I think a good element for a similar, photo drum. I advise you to repeat this device.
Share
Pin
Tweet
Send
Share
Send