Share
Pin
Tweet
Send
Share
Send
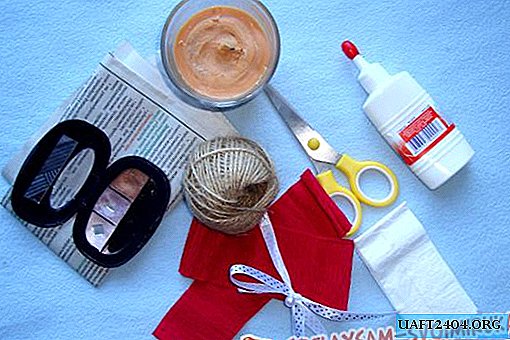
To make a house you will need materials:
1. Cardboard.
2. Pencil and ruler.
3. Scissors.
4. PVA glue.
5. Acrylic paints.
6. File.
7. Napkins for decoupage.
8. Egg shell.
9. Sponge, brushes.
10. Twine.
11. Varnish.
The process of making a tea house.
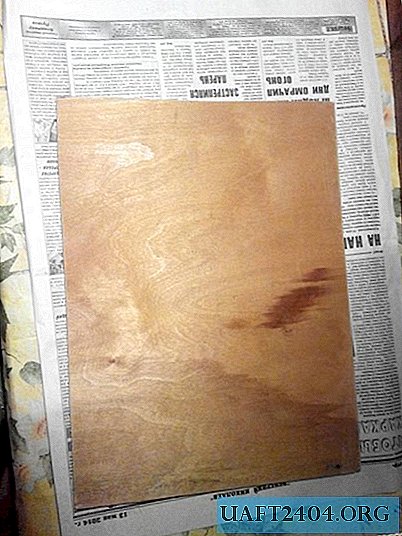
1.To make a house, you need to make a sketch and think about the dimensions. The base of the house will be manufactured according to scheme No. 1.
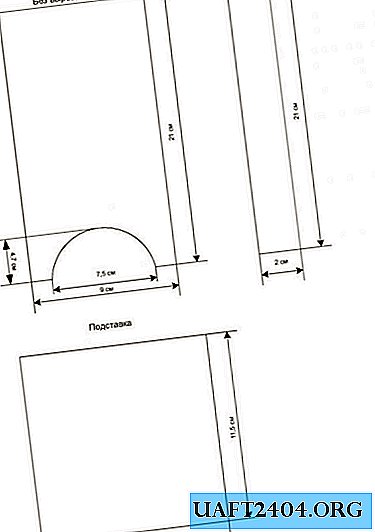
2. According to the calculations, we draw the foundation of the house. Then we cut out the details.

3. To assemble the housing of the house, it is necessary to prepare 3 short strips. Glue stripes on the bases of 3 sides of the house.

4.Then cut out 4 long stripes. Using these strips we will fix the side walls of the house. First, we fasten together 2 sides of the house.

5. Fix one more side of the house. For strong fastening, we use stable elements that support the walls during gluing.

6. Carefully lay the front wall with the cutout on top of the prepared fasteners and press lightly.

7.To ensure the strength and stability of the structure, it is necessary to cut additional details.

8. We fix the walls of the house above and below with the help of prepared parts.

9. The walls are fixed together, glue the base of the house.

10. The external joints are glued with masking tape so that in the future the structure does not have cracks and bends.

11. Proceed to the manufacture of the roof. For this we use the scheme number 2.

12. Draw the cardboard, according to the scheme No. 2. Cut out the elements of the scheme.

13. In order for the roof slopes to be fixed between themselves, it is necessary to glue the strip in the form of a volumetric triangle.

14. Close the voids with small triangles.

15. We fix the roof slopes.

16. On both sides we glue the pediments.

17. The body of the house is assembled. Getting to the primer. To do this, paint with white acrylic paint the inside of the base of the house and roof.


18. Then we ground the outer part of the walls of the house.

19. Only gables are primed on the roof.

20. Next, you need to start decorating. First, we’ll start the foundation of the house. For this we will use napkins for decoupage. We cut out a drawing of a suitable size from a napkin and lay it with the colored side on the file.

21. Then gently pour water on a napkin.
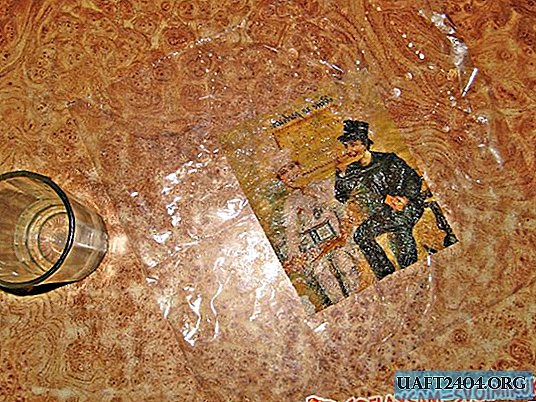
22.Apply a file with a picture on the front wall of the house.

23. Press the picture to the wall.

24.Remove the file from the picture.
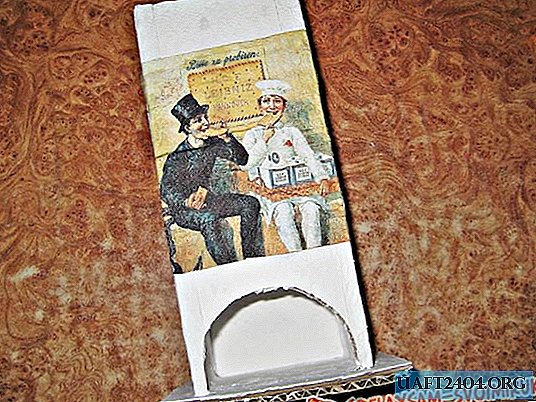
25. We cover the picture with glue.

26. Glue another pattern to the side walls.

27. Decorate the free space around the picture of an egg shell.

28. We ground the shell.


29. We paint the shell in pink.


30.With the help of a sponge we make impressions with dark paint on the shell.

31. Draw with a thin brush the cracks between the shell.

32. Decorate the hole in the wall with twine.

33. Next we decorate the roof. For this, the roof slopes are glued with an egg shell.

34. We paint the shell on the roof with pink acrylic paint.

35. We carry out prints of red paint.

36. Draw cracks between the shell. We decorate the pediments and glue with a twine all the visible parts of the cardboard.

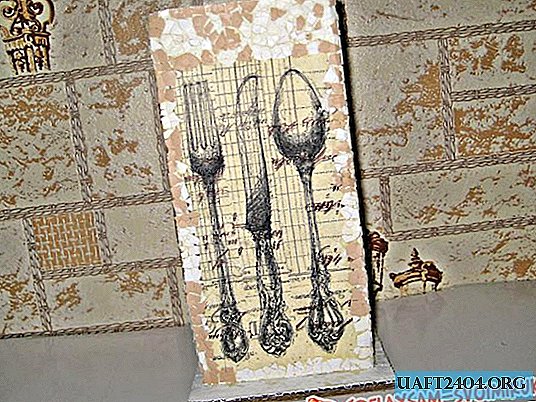
37. Finally, we cover the entire product with varnish.
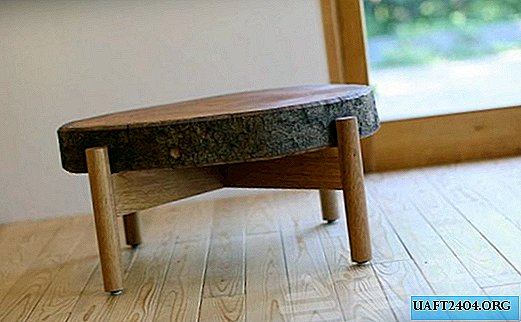
The resulting product looks original and unusual. A house for storing tea bags will perfectly decorate the kitchen and is suitable for a gift.


Share
Pin
Tweet
Send
Share
Send