Share
Pin
Tweet
Send
Share
Send
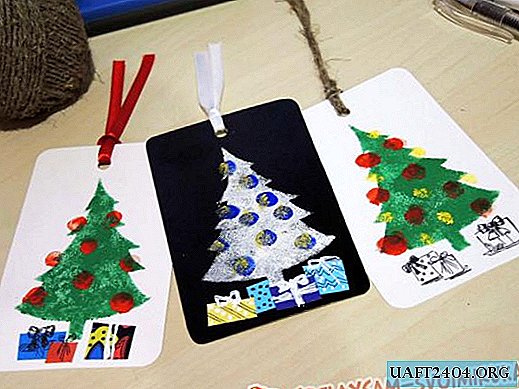
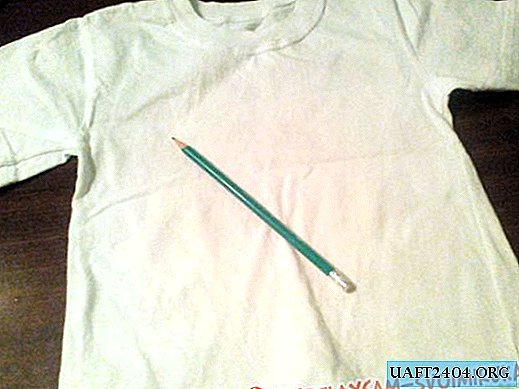
In this master class, we will focus on decorating a children's plain t-shirt, improvised materials with minimal investment.
To work, you need:
• item for decoration;
• fabric contours (at least two colors);
• a simple pencil for drawing contours;
• decorative elements (buttons, beads, ribbons, rhinestones, etc.);
• needle with thread.
The process of decorating.
The whole process can be divided into several stages.
Stage 1. Preparation.
1.Before you start decorating, you need to prepare all the necessary materials and tools. Clothing should be clean and dry;
2. Invent a pattern that you will depict on clothes. If you don’t know how to draw at all, you can print a suitable version from the Internet. In order for printed outlines to be clearly visible through the fabric, it is necessary to draw a good outline on paper with a wide marker;
3.With a simple pencil, begin to draw a contour on the fabric. It is necessary to draw everything, even the smallest details, and only after that proceed to the next stage.


Stage 2. Work with color.
Features of the application of paint:
1. Start applying the color from top to bottom, this will not grease the paint during operation;


2. It is better to start with the main color, that is, the one that is most in the picture. In this master class, green predominates, which is why they started from it. After the contours of the primary color are applied, go to other colors;

3. Immediately you need to apply paint along the contour, this will save the boundaries of the picture and when drawing the internal parts of the image, the paint will not “float”.

4. When drawing, you need to press well on the tube, then the contour will be holistic and bright;

5. Only after the contour has dried up (2-3 hours) can we move on to filling the inside of the image. In order for the color inside the picture to be even and smooth, it is convenient to use a palette on which a small amount of paint is squeezed out and a few drops of water are added. This method will allow you to distribute the paint in a uniform layer and use a brush, which is much more convenient than working with a narrow nozzle on a tube with a contour.

6. When all parts of the image have both the main contours and the inner color, you can add them with additional strokes, for example, draw veins on leaflets, and bends on the flowers. Such elements are made in the same way as the main contour, but at the very end of the drawing.

Fixing paint on fabric:
In order to keep the image on the clothes for a long time and not washed off, it must be properly fixed.
After completing the drawing, the paint should dry for at least 24 hours, after which the clothes should be ironed from the wrong side at the maximum allowable temperature (depending on the type of fabric) for 5 minutes.
This step must be taken with all responsibility, since non-compliance with the technology will lead to the washing off of the picture after the first washings.
Stage 3. Addition of the figure.
When all the previous steps are completed, you can proceed to the final work - decoration. To complement the image, you can use absolutely any details. In this option, yellow buttons were used for the middle of the flowers and green buttons to complement the leaves.


Alternatively, you can use kapron ribbons to form volumetric flower petals and beads to simulate the middle.
As you can see, the process of decorating clothes can be very interesting, most importantly, be patient and wake up your imagination, then both the process and the result will please you.


Share
Pin
Tweet
Send
Share
Send