Share
Pin
Tweet
Send
Share
Send
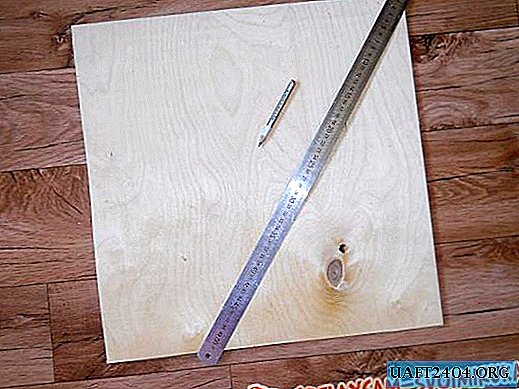
So, we take a sheet of plywood and trim it, after measuring the necessary dimensions with a ruler. And so that the paint subsequently lay evenly, I advise you to carefully polish the surface and side parts of the cut with a piece of sandpaper. Then, using a foam sponge, apply paint to the working surface of the board and leave it to dry completely. A more spectacular and finished look will give the product a pattern that runs in the lower right / left corner or around its entire perimeter. You can transfer it to plywood in two ways:
• using a stencil (we cut out a drawing from paper and, applying it to the board, transfer it with a sponge);
• using a thin brush (after making a preliminary sketch with a pencil).
I would also like to say about the frame: a well-polished product does not need it. But if you see notches at the edges of the plywood, you can hide them using ordinary plastic corners (sold at any hardware store). The corners are fixed on a construction adhesive specially designed for this, and the joints are framed, which is achieved by cutting their front side at an angle of 45 degrees. The side is cut according to the width of the plywood, the hook is nailed on the back.


Now that the product is ready, it can be hung on the wall for future use: notes, photographs and drawings are attached to the board using buttons and moved in accordance with their own plans.
Share
Pin
Tweet
Send
Share
Send